In this article
Using a round brush for blow drying is a popular method for styling and smoothing hair from root to tip. Each section of hair needs to be wrapped around the brush, creating a sleek, defined shape. This technique is particularly effective for straight or slightly wavy hair. Additionally, the round brush can be used to add volume at the roots while keeping the ends smooth. With some practice, you can achieve shiny, salon-quality results that look professionally styled. Here’s a step-by-step guide to help you master this method!
How to Blow Dry Hair with a Round Brush

If you want to blow dry your hair with a round brush, simply follow these steps for a salon-quality finish:
Step 1. Preparation for Blow Drying
Preparation is essential! Start by applying a heat-protectant spray or styling product to shield your hair and help it hold its shape. Only after these preparations should you begin blow-drying with a round brush.
Step 2. Section Your Hair
Divide your hair into sections to make blow-drying easier. Clip up the top section of your hair, starting with the bottom layers.
Step 3. Dry the Bottom Sections
Take a small section from the bottom, place the round brush underneath it near the roots. With the blow dryer angled down, glide the brush through your hair while rolling it downward. Repeat this process until each section is dry and smooth.
Step 4. Add Volume at the Roots
One of the benefits of using a round brush is the volume it can create. To add lift at the roots near your hairline, position the round brush close to the scalp and blow-dry in the opposite direction of your natural fall. Allow the section to cool on the brush before pulling it away to set the volume.
Step 5. Finish the Top Sections
Gradually release the top section of your hair, repeating steps 3 and 4 until all hair is blow-dried. Keep the brush close to the scalp while drying to maximize volume and smoothness.
Once all sections are dry, let your hair cool slightly. Now, you can use either the brush or your fingers to shape your hair as desired. For a longer-lasting hold, apply a light mist of hairspray to set the style. Using a round brush for blow-drying takes patience and practice, but the good news is that with these steps and the right technique, you’ll be able to achieve a shiny, salon-quality style at home.
Creating Curls with a Round Brush

Yes, you can use a round brush to create curls or waves in your hair, even though this isn't its traditional use. To achieve curls with a round brush, wrap sections of hair around the brush and apply warm air from a blow dryer to shape the curls. Start with small sections to ensure each strand gets equal attention.
Here’s a quick guide to using a round brush for curls:
- Apply Tension: Maintain steady tension as you roll the hair around the brush to form the curl. This helps define the shape.
- Allow to Cool: Let each section cool fully before removing the brush to help the curl set.
- Repeat and Adjust for Different Curl Sizes: Use a variety of round brush sizes for different curl widths, if desired.
Best Method for Blow-Drying Hair
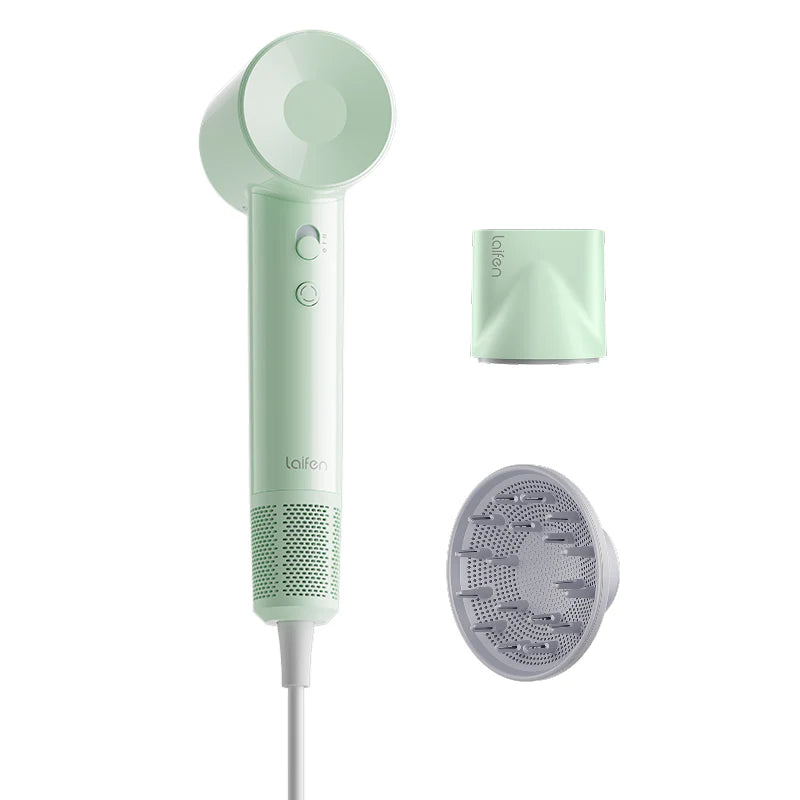
To get the best results from blow-drying, start by towel-drying your hair to remove excess moisture, then apply a heat protectant spray. Using a blow dryer with adjustable heat settings is ideal, such as the Laifen Swift dryer. Here’s how to proceed:
- Towel Dry with Microfiber: Use a microfiber towel to gently absorb extra water without roughing up the hair cuticles.
- Section the Hair: Divide your hair into sections and start with the bottom layers. Take a small section of hair, wrap it around the round brush, and blow-dry it, directing the heat down the hair shaft to smooth the cuticle for shine.
- Proper Angle: Hold the dryer at a slight angle to smooth the cuticle and enhance shine.
- Cool and Style: After drying each section, let the hair cool slightly before styling.
- Set with Light Hairspray: Use a light hairspray to lock in the look and keep it lasting.
Blow-Drying Short Hair with a Round Brush
Blow-drying short hair with a round brush requires technique for optimal volume and shape. Here’s a step-by-step guide:
- Apply Heat Protection: After towel-drying, spray a bit of heat protectant to shield your hair.
- Choose the Right Brush: For shorter hair, a small to medium round brush works well.
- Wrap and Dry: Wrap small sections around the brush, positioning the brush close to the roots. Hold the dryer at an angle as you work from roots to ends to add shine and lift.
- Cool and Shape: Allow each section to cool before releasing to set the style.
- Finish with Light Hairspray: Lightly spray to set your style and add hold.
FAQs for Blow-Drying with a Round Brush
Q1: Can I create curls with a round brush?
Yes, wrap small sections of hair around the brush and blow-dry to achieve curls.
Q2: How do I choose the right round brush?
Select a brush diameter based on your hair length and desired style; smaller diameters for short hair and larger for long, voluminous styles.
Q3: How do I blow-dry short hair with a round brush?
Use a smaller brush, wrap sections around it, and blow-dry to add lift and smoothness.
Q4: Is heat protectant spray necessary?
Yes, it helps shield hair from high temperatures and enhances styling results.
Q5: Can I use a round brush on thick hair?
Absolutely. Position the brush close to the roots and blow-dry to add volume.
Q6: How often should I clean my round brush?
Regularly remove any hair and product buildup for optimal styling.
Q7: Can I straighten hair with a round brush?
Yes, wrap hair around the brush and blow-dry to create a smooth, sleek finish.
Q8: How long does it take to master blow-drying with a round brush?
With practice, you’ll quickly develop the skills for professional results.


